Anyone who is lucky enough to own type and a printing press by default is a custodian of the heritage of letterpress printing, and in turn holds artefacts which have helped inform the evolution of communication. The newest elements housed in any letterpress workshop would have been manufactured around forty years ago and the oldest can be one, two or even three hundred years old! As time passes it’s becoming increasingly difficult to find replacement parts and even to cast new letters – therefore it is very important that what each of us own, is taken care of.
Printing components are fragile. Letters made of wood or metal can be easily damaged. Even in the most careful of hands, accidents happen resulting in a dent or in the worst instance breaking a letter in two. Working with such fragile elements, it is important to recognise that each element is a valuable artefact in itself.
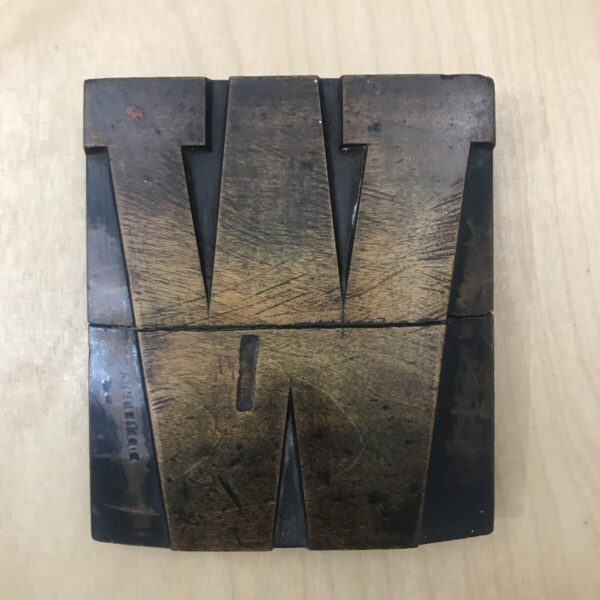
The photograph below shows how one stray metal letter not only has imbedded itself into the surface of the larger wooden letter, but it has caused it to actually break in two.
The Heritage Crafts Association ‘Red List’ of Endangered Crafts, initially published in 2017, was the first report to rank traditional crafts by the likelihood that they would survive to the next generation. Initial research concluded that letterpress was at risk and should be ranked as ‘Endangered’!
The reason for writing this journal entry is in response to seeing a large number of social media posts celebrating an array of poorly ‘locked up’ type. This post is not published as a ‘who’s who’ of the international worst lockups (you know who you are) but as a brief directive in the value of following a small number of basic rules. Hopefully it will help guide those who are new to the discipline and for those of us who have been printing for a considerable amount of time, help to reinforce the value of what we own, work with and ultimately enjoy.
… … … … … … … … … … … … … … … … … … … … … … … … … … … … …
One of the most basic but important processes in letterpress printing is locking type in position, in readiness for inking and printing. The process combines type, spacing material, furniture and quoins – housed within the confines of a rectangular, metal chase. This sounds easy, but it is a fairly complicated procedure.
Where a lock-up fails, it allows elements to move within the forme. Loose materials (like type or spacing) can ‘work up’ from the forme touching the inking roller, transferring unwanted ink onto the page, and in the worst instances, ink (as it is sticky) adheres itself to loose elements within the lock up – the loose elements are then drawn out of the lock up and are compressed between rollers, type and anything else in their way.
A poor ‘lock up’ can result in it:
- Impacting on the quality of the print – slurring the print / distributing unwanted ink on the page.
- Impacting on the alignment / registration of following colours etc.
- Resulting in wasted materials and time – when printing in high volumes.
- Damaging type – (especially wood type) – reducing its usable lifespan.
- Damaging rollers – resulting in the need for recovering or replacement.
- Damaging mechanisms within the printing press – in the worst instance breaking cast iron elements which are becoming increasing difficult to replace or repair.
Therefore, it is very important to ensure that no element within any lock-up are able to get loose, work themselves loose or move during the printing process. If you hear any sound when inking up (tiny clicking noises) it usually means something is loose – so stop!
… … … … … … … … … … … … … … … … … … … … … … … … … … … … …
Measurement – Establishing the exact size of work
The most basic principle of a good ‘lock-up’ is that type is measured and set within a rectilinear framework with pressure applied (through the correct positioning of quoins) from (only) two external directions.
The first operation when setting type is to qualify its ‘line length’. This in turn will inform the measurement of the setting stick. Note, wherever possible line length should include spacing material before any textual elements. An Em quad is recommended, which allows space for hung punctuation and vertical alignment (where needed).
- Consider and qualify line length – whenever possible use a setting stick.
- Make sure each line is properly spaced and solid.
- Make sure any leading is the correct length (or in some instances one point smaller not to impact on horizontal sizing).
- Working section-by-section you will find and correct errors much more quickly than by discovering them just before you go to press.
… … … … … … … … … … … … … … … … … … … … … … … … … … … … …
Imposition – Preparing the Forme for Printing
This work should be carried out on a flat, clean surface, traditionally named a Stone. It is good practice to keep all printing materials free from ink, dust and debris. Clean everything (including the stone) before you begin. When using a setting stick to transfer type to the stone always use a setting rule to help facilitate the move.
Consider how many colours you are printing and in what order. If you are using wooden furniture (primarily United States and UK), be reminded that this varies is size and shape depending upon temperature and humidity much more that metal furniture. If registration is critical and you are using wooden furniture limit its use to the foot and shoulder of any text where fluctuations in size will not impact upon registration.
Once all the typesetting is done, the matter should be tied up for proofing. The next stage, is to position, and lock the type into the chase. Proceed slowly and be careful – again, tidy up and clean as you go.
… … … … … … … … … … … … … … … … … … … … … … … … … … … … …
Locking Up and Planing
Once the type has been positioned into the chase alongside furniture and quoins, it can be gently locked-up for the first time. Securing the type, spacing and furniture materials safely within the frame. Always ‘lock up’, tightening the quoins, firstly from the base and then the side of any composition.
Once tightened, to ensure everything is secure, lift the chase slightly on only one side (20mm away from the surface of the stone) then apply a small amount of pressure to a section of type with a finger. This method checks if there is any movement without the risk of damaging the type and disassembling the whole composition. If everything is secure (across all of the elements within the chase, including furniture), the chase is now ready to be moved to the press and printed. If there is movement (it deforms in any way under pressure – there is an issue) re-position the chase flat onto the stone and review the lock up – unlock the quoins and search for the problem.
When using a flatbed cylinder press, the final check is carried out on the bed of the press – ‘settling’ the type into its final position (unlocking and re-locking the type) with other presses where the chases final position is vertical ‘planing’ is carried out at the stone.
To ‘plane down’ type, firstly loosen the quoins a little and position a wooden planer softly across the face of the type, gently tap the back of the planer with a small hammer to ensure that all the letters have settled in place. This process aligns the printing face of each letter across exactly the same ‘plane’. Note: with smaller sizes of type lighter impact is required – a quoin key is fine to use instead of a hammer.
Once the planing process is complete re-tighten all of the quoins. Do this in stages, applying levels of pressure until the whole chase is ‘locked’ in position. Once you are satisfied everything is secured safely in place printing can commence.
… … … … … … … … … … … … … … … … … … … … … … … … … … … … …
And finally…
Always clear the bed of the press of anything other than the forme – it is really bad practice to leave quoin keys, furniture or anything else loose in the bed of a press whilst printing. Even though they may be less that type height in size they can still move and damage the press. It’s good practice prior to printing to check that everything has been safely cleaned and put away.
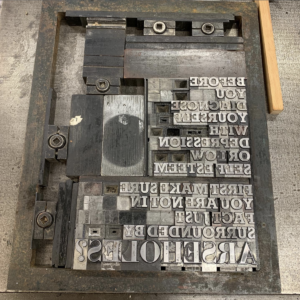
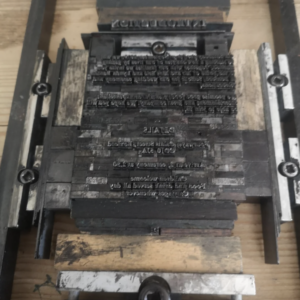
Here are a few examples of ‘lock ups’ you decide which are good or bad:
… … … … … … … … … … … … … … … … … … … … … … … … … … … … …
Glossary of Terms
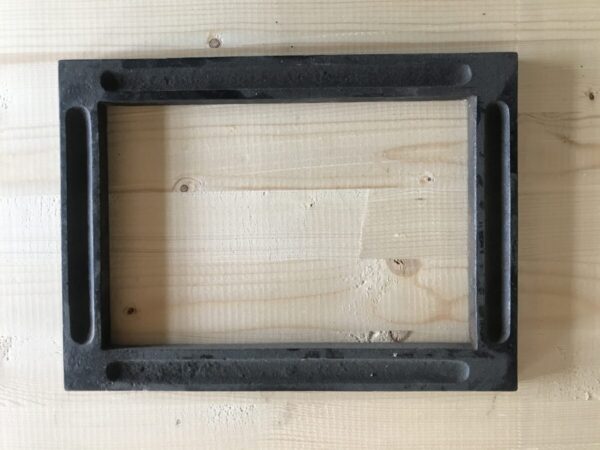
A Chase is a square or rectangular metal frame designed to hold type, furniture and quoins securely in place, during the process of printing.
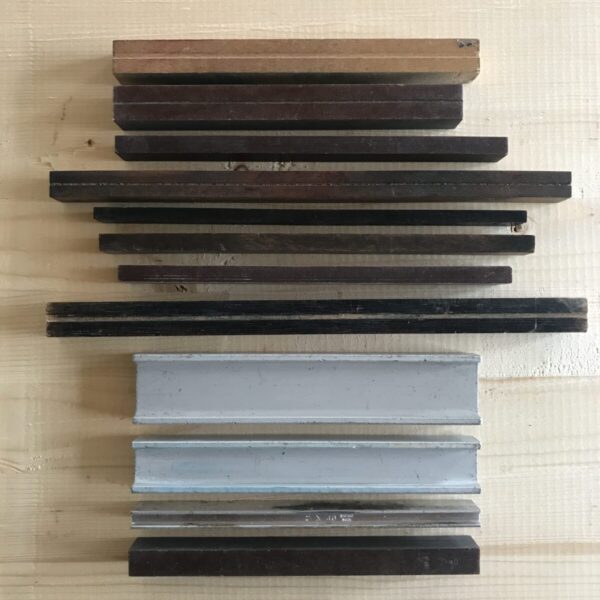
Furniture is the wooden, metal or a resin composite blocks that surround a forme to hold it in place. Reglet refers to (UK / USA) spacing materials manufactured from wood. Girder furniture refers to the shape of the furniture in section. Wooden furniture did disappear on the continent well before the Second World War, cast iron and lead was common in print shops, and immediately after the war aluminium furniture appeared. There were a few manufacturers in Germany and in Spain who produced lightweight ‘bakelite’ furniture, this can be dated back to the early 1930s. Italian manufacturers used plastic to make both poster type and furniture.
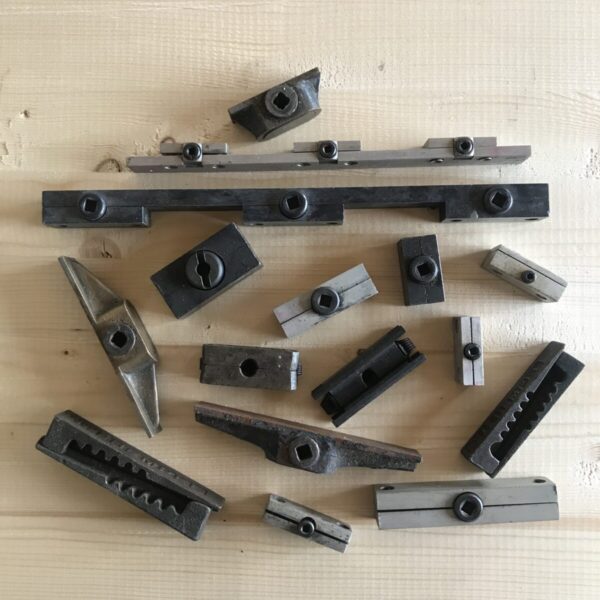
A Quoin is a rectangular metal block constructed from a number of components which is designed to expand by the rotation of a key. Originally pairs of expanding wooden (folding) wedges were used, held in position by hammering them together. Later the wedges were developed into a purpose made metal blocks operated through the insertion a cross-ended key. The most modern are operated by a square-ended quoin key.
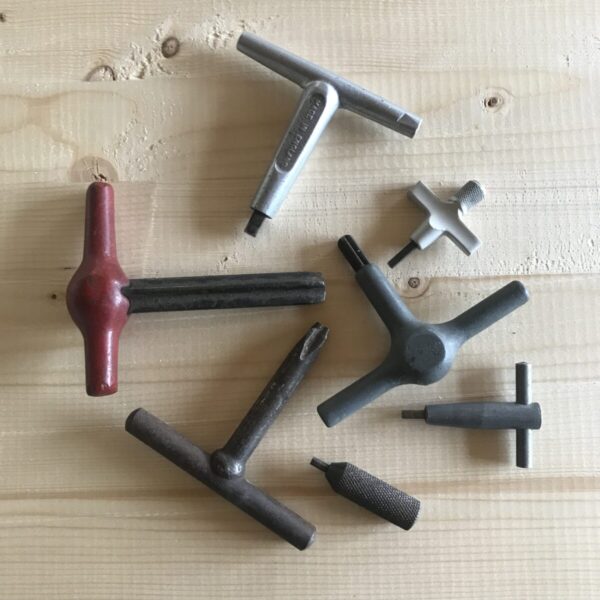
A Quoin Key is a specially designed device used to tighten and loosen quoins by hand though a rotational action. They can be found in a range of different shapes and sizes depending upon the quoin type being locked.
The process of Imposition or ‘dressing’ the forme, refers to the process of moving type from a composing stick and positioning it into a chase.
An Imposing Stone was originally a slab of slate or stone, ground perfectly flat. More recently imposing stones were manufactured from cast iron and machined flat.
In letterpress printing, Lock Up is the process to secure type (either as individual characters or letters set in lines of text) within a chase or directly onto the base of a press, securing them in position before printing.
A Setting or Composing Stick is a shelf-like tool used to assemble individual letters (of wood or metal type) into words, lines and sentences. Most composing sticks have a single adjustable end, allowing the length of the lines (column width) to be set. Some of the earliest wooden composing sticks often had a fixed measure, as did many used in setting type specifically for newspapers.
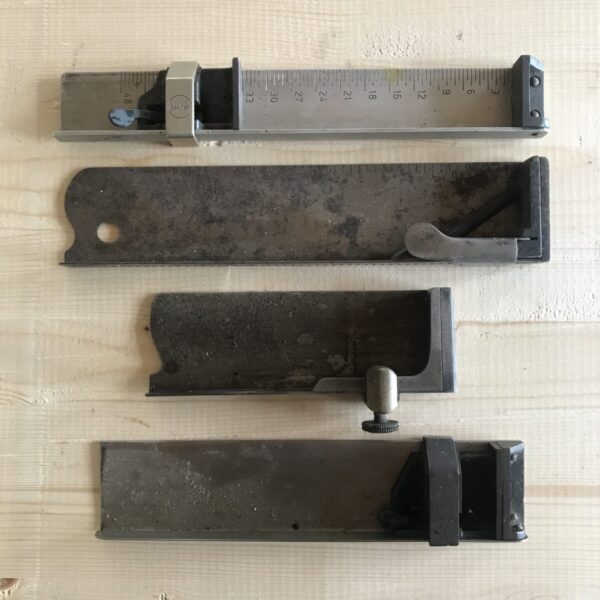
Setting rules vary in length, they are made from brass and are used to set the line length within composing sticks and to help transfer type from the stick to the stone.
In setting type, a forme (or form) is the completed assembly of different components (text, rules, furniture etc) which make up a page (or a number of pages) into a locked setting, inside a chase. Composed, and made ready for printing.
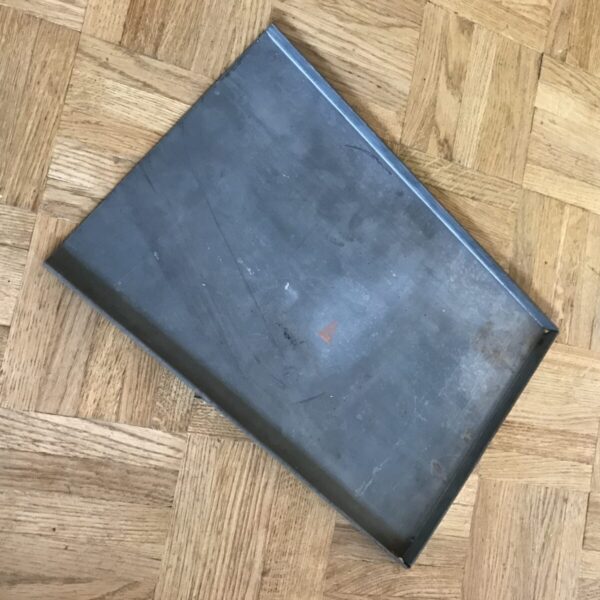
A Galley is a metal tray with three raised sides, used to transport type and chases from the composing stone to the printing press. Note: a ‘galley proofing press’ will have its rollers set to a height which accommodates both the type and galley tray for the process of proofing.
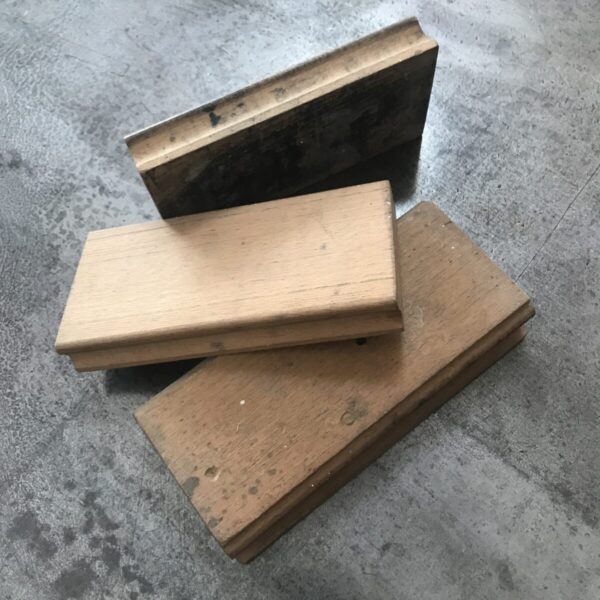
A Planer is a flat wooden block designed to be used in combination with a small hammer or quoin key to level (plane down) type prior to printing.
… … … … … … … … … … … … … … … … … … … … … … … … … … … … …
thanks Carl for this advised digest !
Always remember those words of T.S. Eliot : ‘It’s unwise to break the rules until you know to observe them.’
Oh! I was about to forget : f*ck magnets!
Can’t wait to meet you next july 😉
Best
Carl, a few remarks:
As we already discussed, there are definitely different practices from country to country. I feel that this text is still too much a UK/US approach.
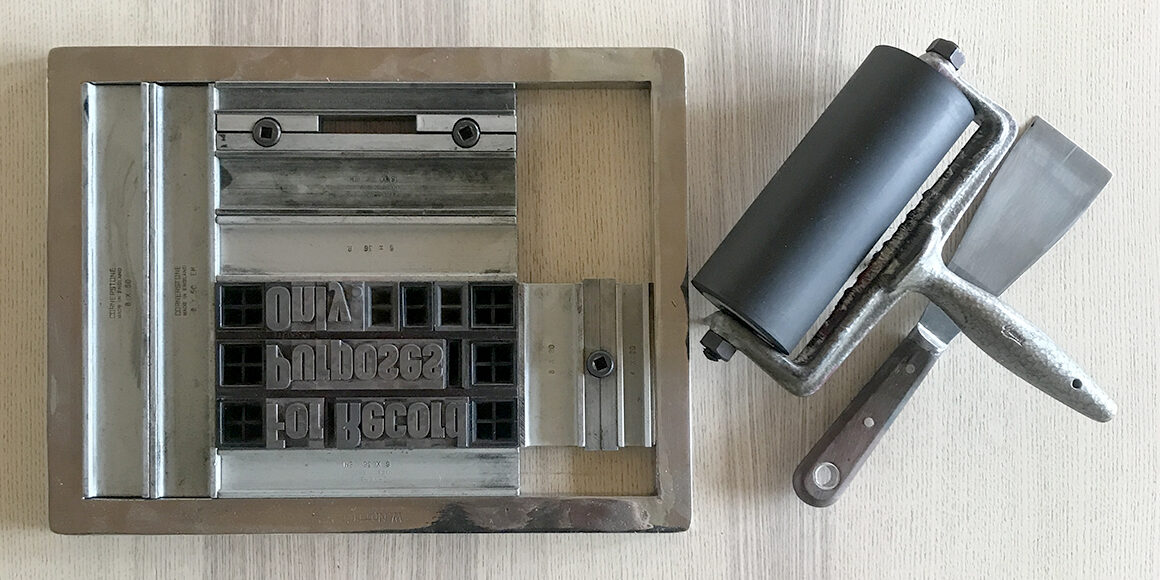
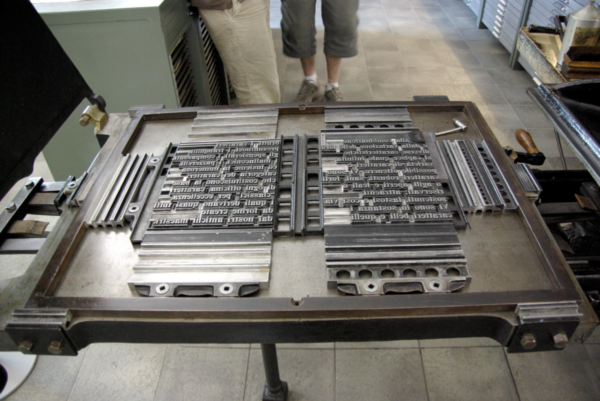
The first image shows a chase with a locked-up forme. The general rule for locking up for a tabletop or treadle platen press is to place the type matter as much as possible in the centre of the chase. On Heidelberg platen presses (windmills), the type matter is locked in the corner.
Setting rules are in general slightly shorter, and have often rounded corners. One should never set the stick using a setting rule as your width will be slightly too narrow. Instead the stick should be set using quads that the typesetter keeps for that purpose. An example, setting a width of 20 ciceros (picas US/UK) requires 5 x 4 cicero quads. The quads should be laid flat in the stick to enable the typesetter to check for squareness. And in order to give some ‘spring’, a very thin piece of paper has to inserted between the quads.
The galley in the picture is actually not a galley that one uses for setting up your type, but only used for storage (so-called storage galley). Galleys that have either a cast-iron or aluminium edge are used to set your matter on.
Thank you, Tom, for describing the setting-up of the composing stick. Once you’ve used the method described, you’ll notice that the brass setting-rule is about 1 or 2 points shorter than the exact measure. That is so you can remove it easily once you’ve transferred the line/s of type to the stone. If you use the setting-rule to set the measure, it’ll therefore always be a little short and result in loose lines if you use reglet or furniture of the correct length in your forme.
I agree with Thomas and Erik. I always set my stick with 4-em quads and lesser to justify the measure. And keep the same stick locked for correcting any necessary lines, up until the job is finished. These quads down to a mutton are kept in a plastic pot for all my composition work. And are all originally cast by the same foundry. The case for setting rules is the correct one.